How to Edit Photos for a Clean, White Background
Whether you sell on PoshMark, Ebay, Mercari, or just plain ol' Instagram, nothing looks quite as polished and professional as a bright, clean, white background for your product photos. Better still, it's easy enough for anyone to do, even if you're not a professional photographer, and even with just your phone's camera. Read on to learn how!
Step 1: Shoot it Right
Start by placing the object to be photographed on a bright, solid color background, and lighting it evenly with soft, diffuse light. Even the most inexpensive studio lights from Amazon (like the ones we used here) will give you reliably soft light, with consistent color, though you can use a big window (or even the shady side of a building!) to get the same effect. Studio lights are great if you have more than a few items to photograph, because they'll work on your schedule, and give consistent results regardless of the weather. They're well worth the $40 or so a basic kit will cost if you’re running an online business.
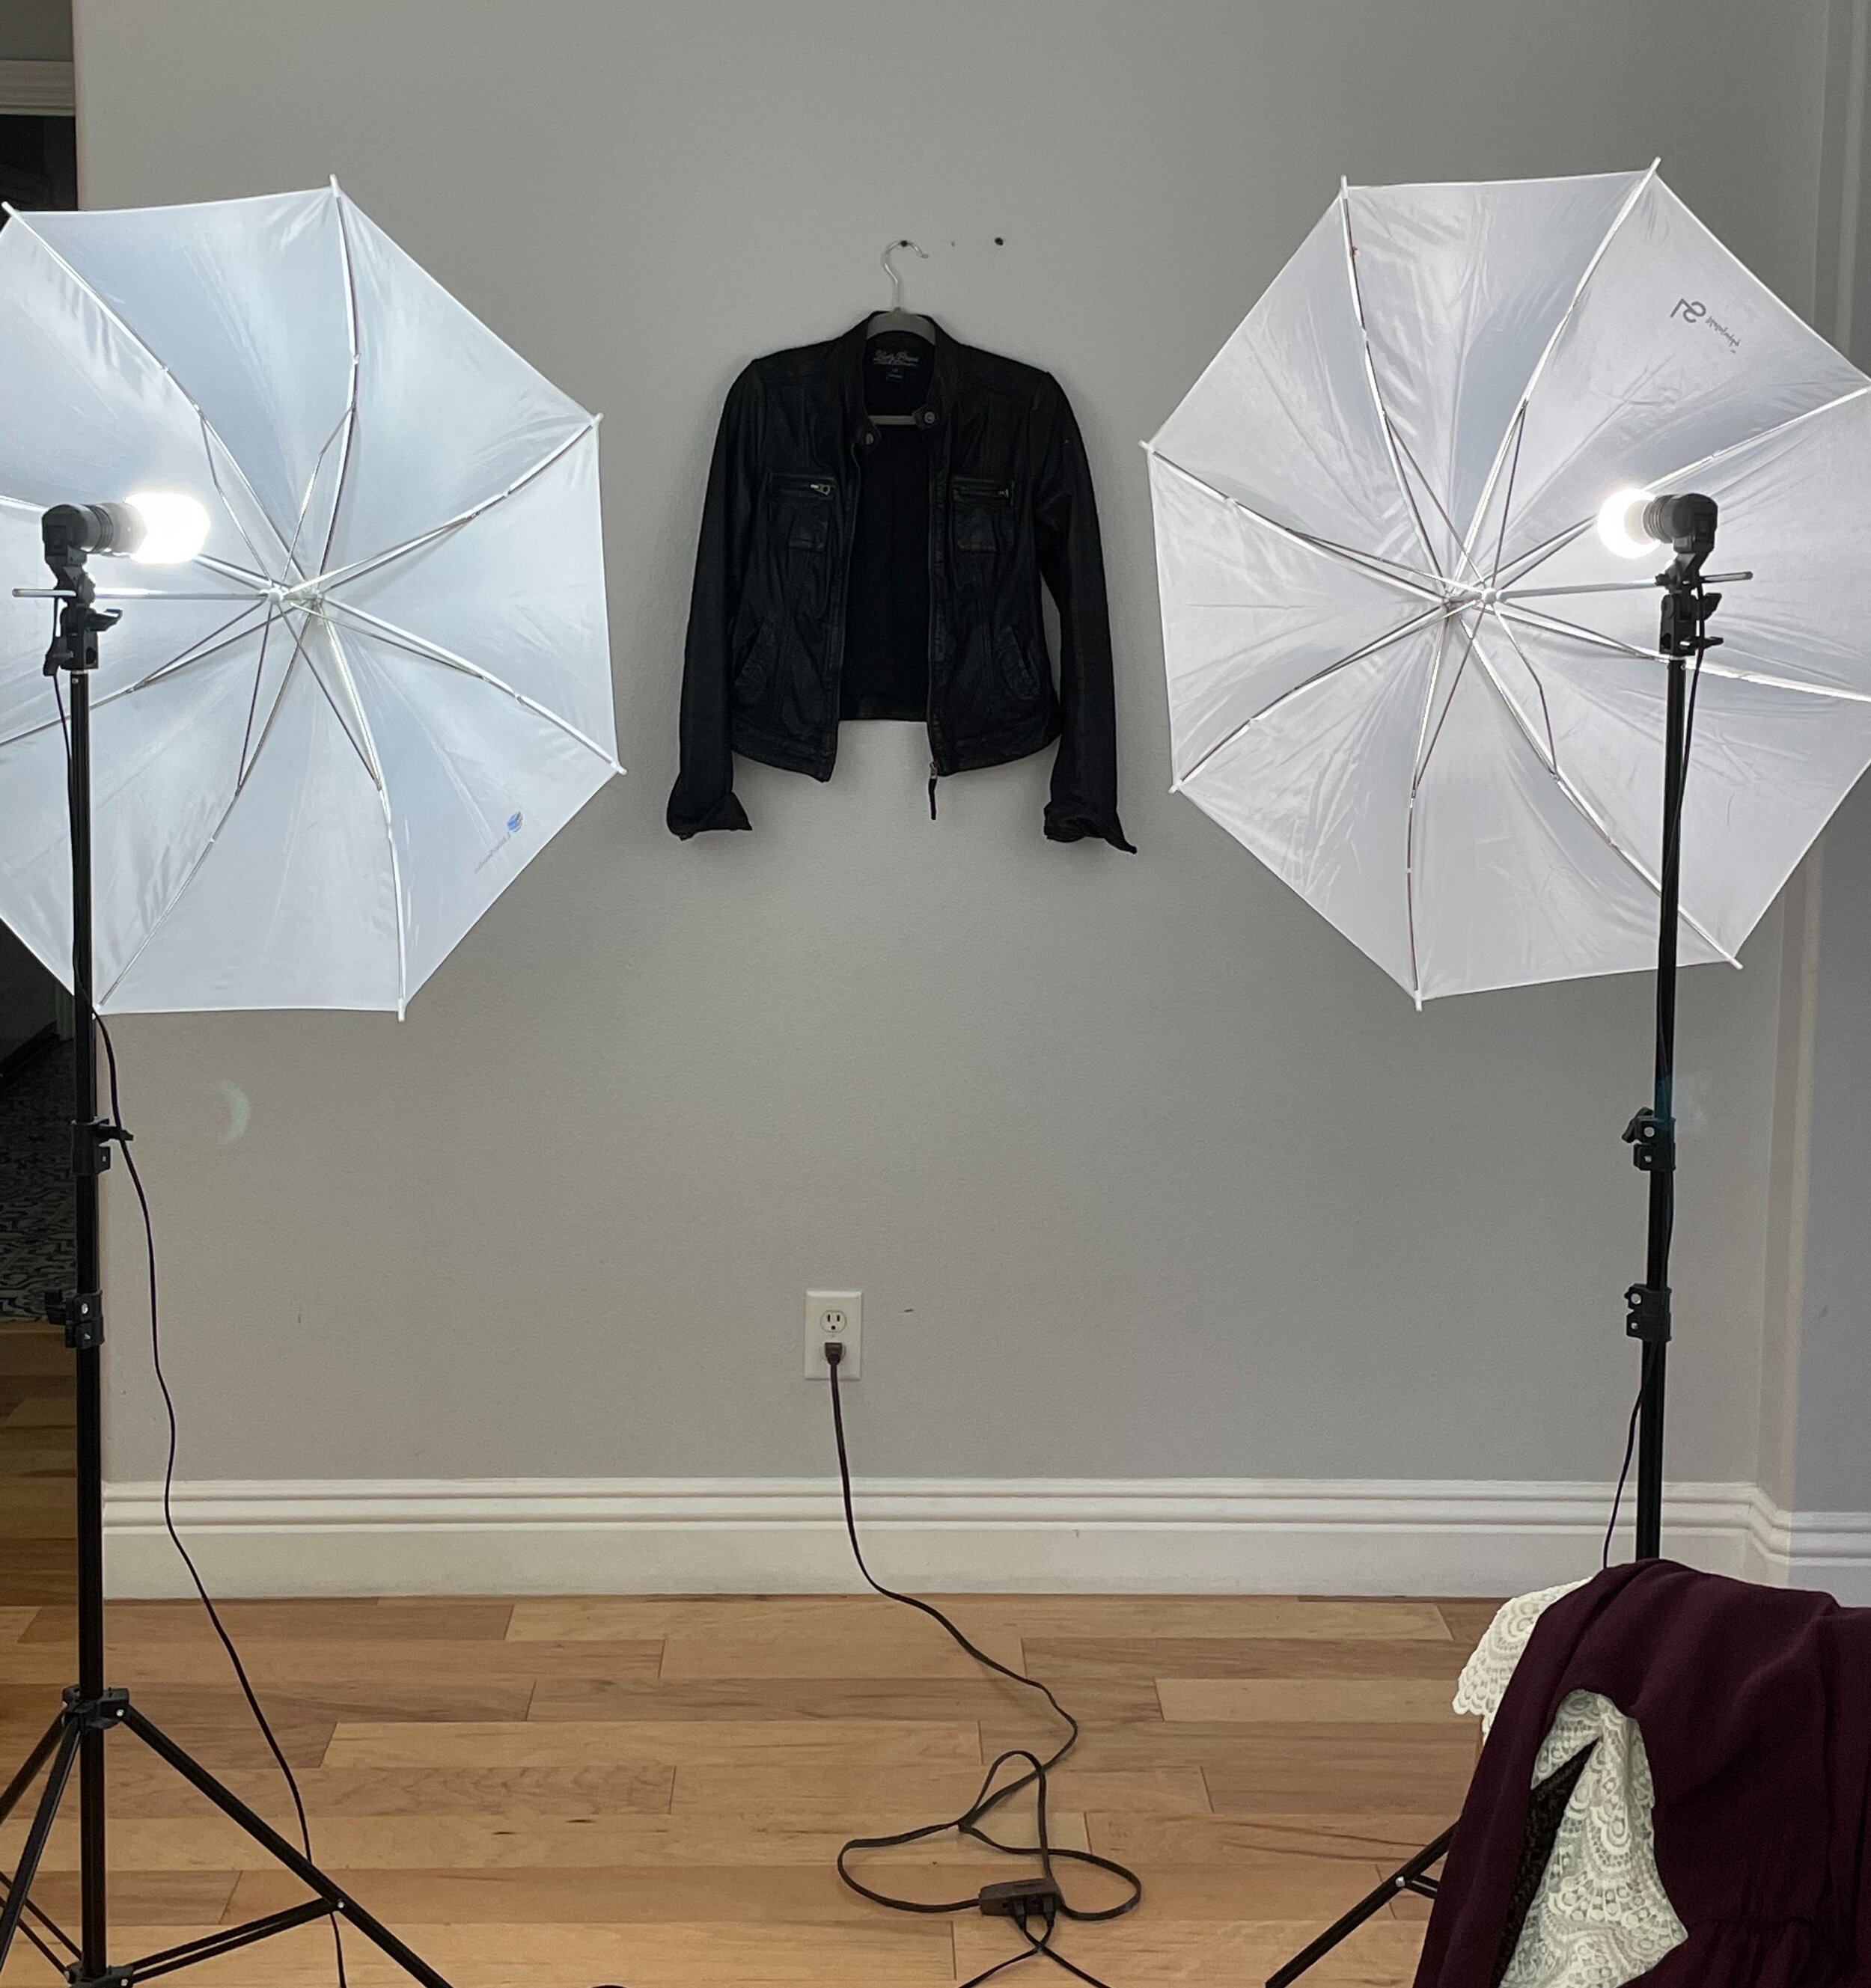
Notice in this case that our wall isn’t even a pure white, but rather a light gray. That’s OK! The AutoMask tool will be able to brighten it up enough to make the light gray appear white (though starting with a white wall is better if you’ve got one standing around doing nothing better than holding up your house…)
Don't rush your shoot! Spending a few extra minutes getting it right "in camera" will save you time in editing, and yield better results in the end.
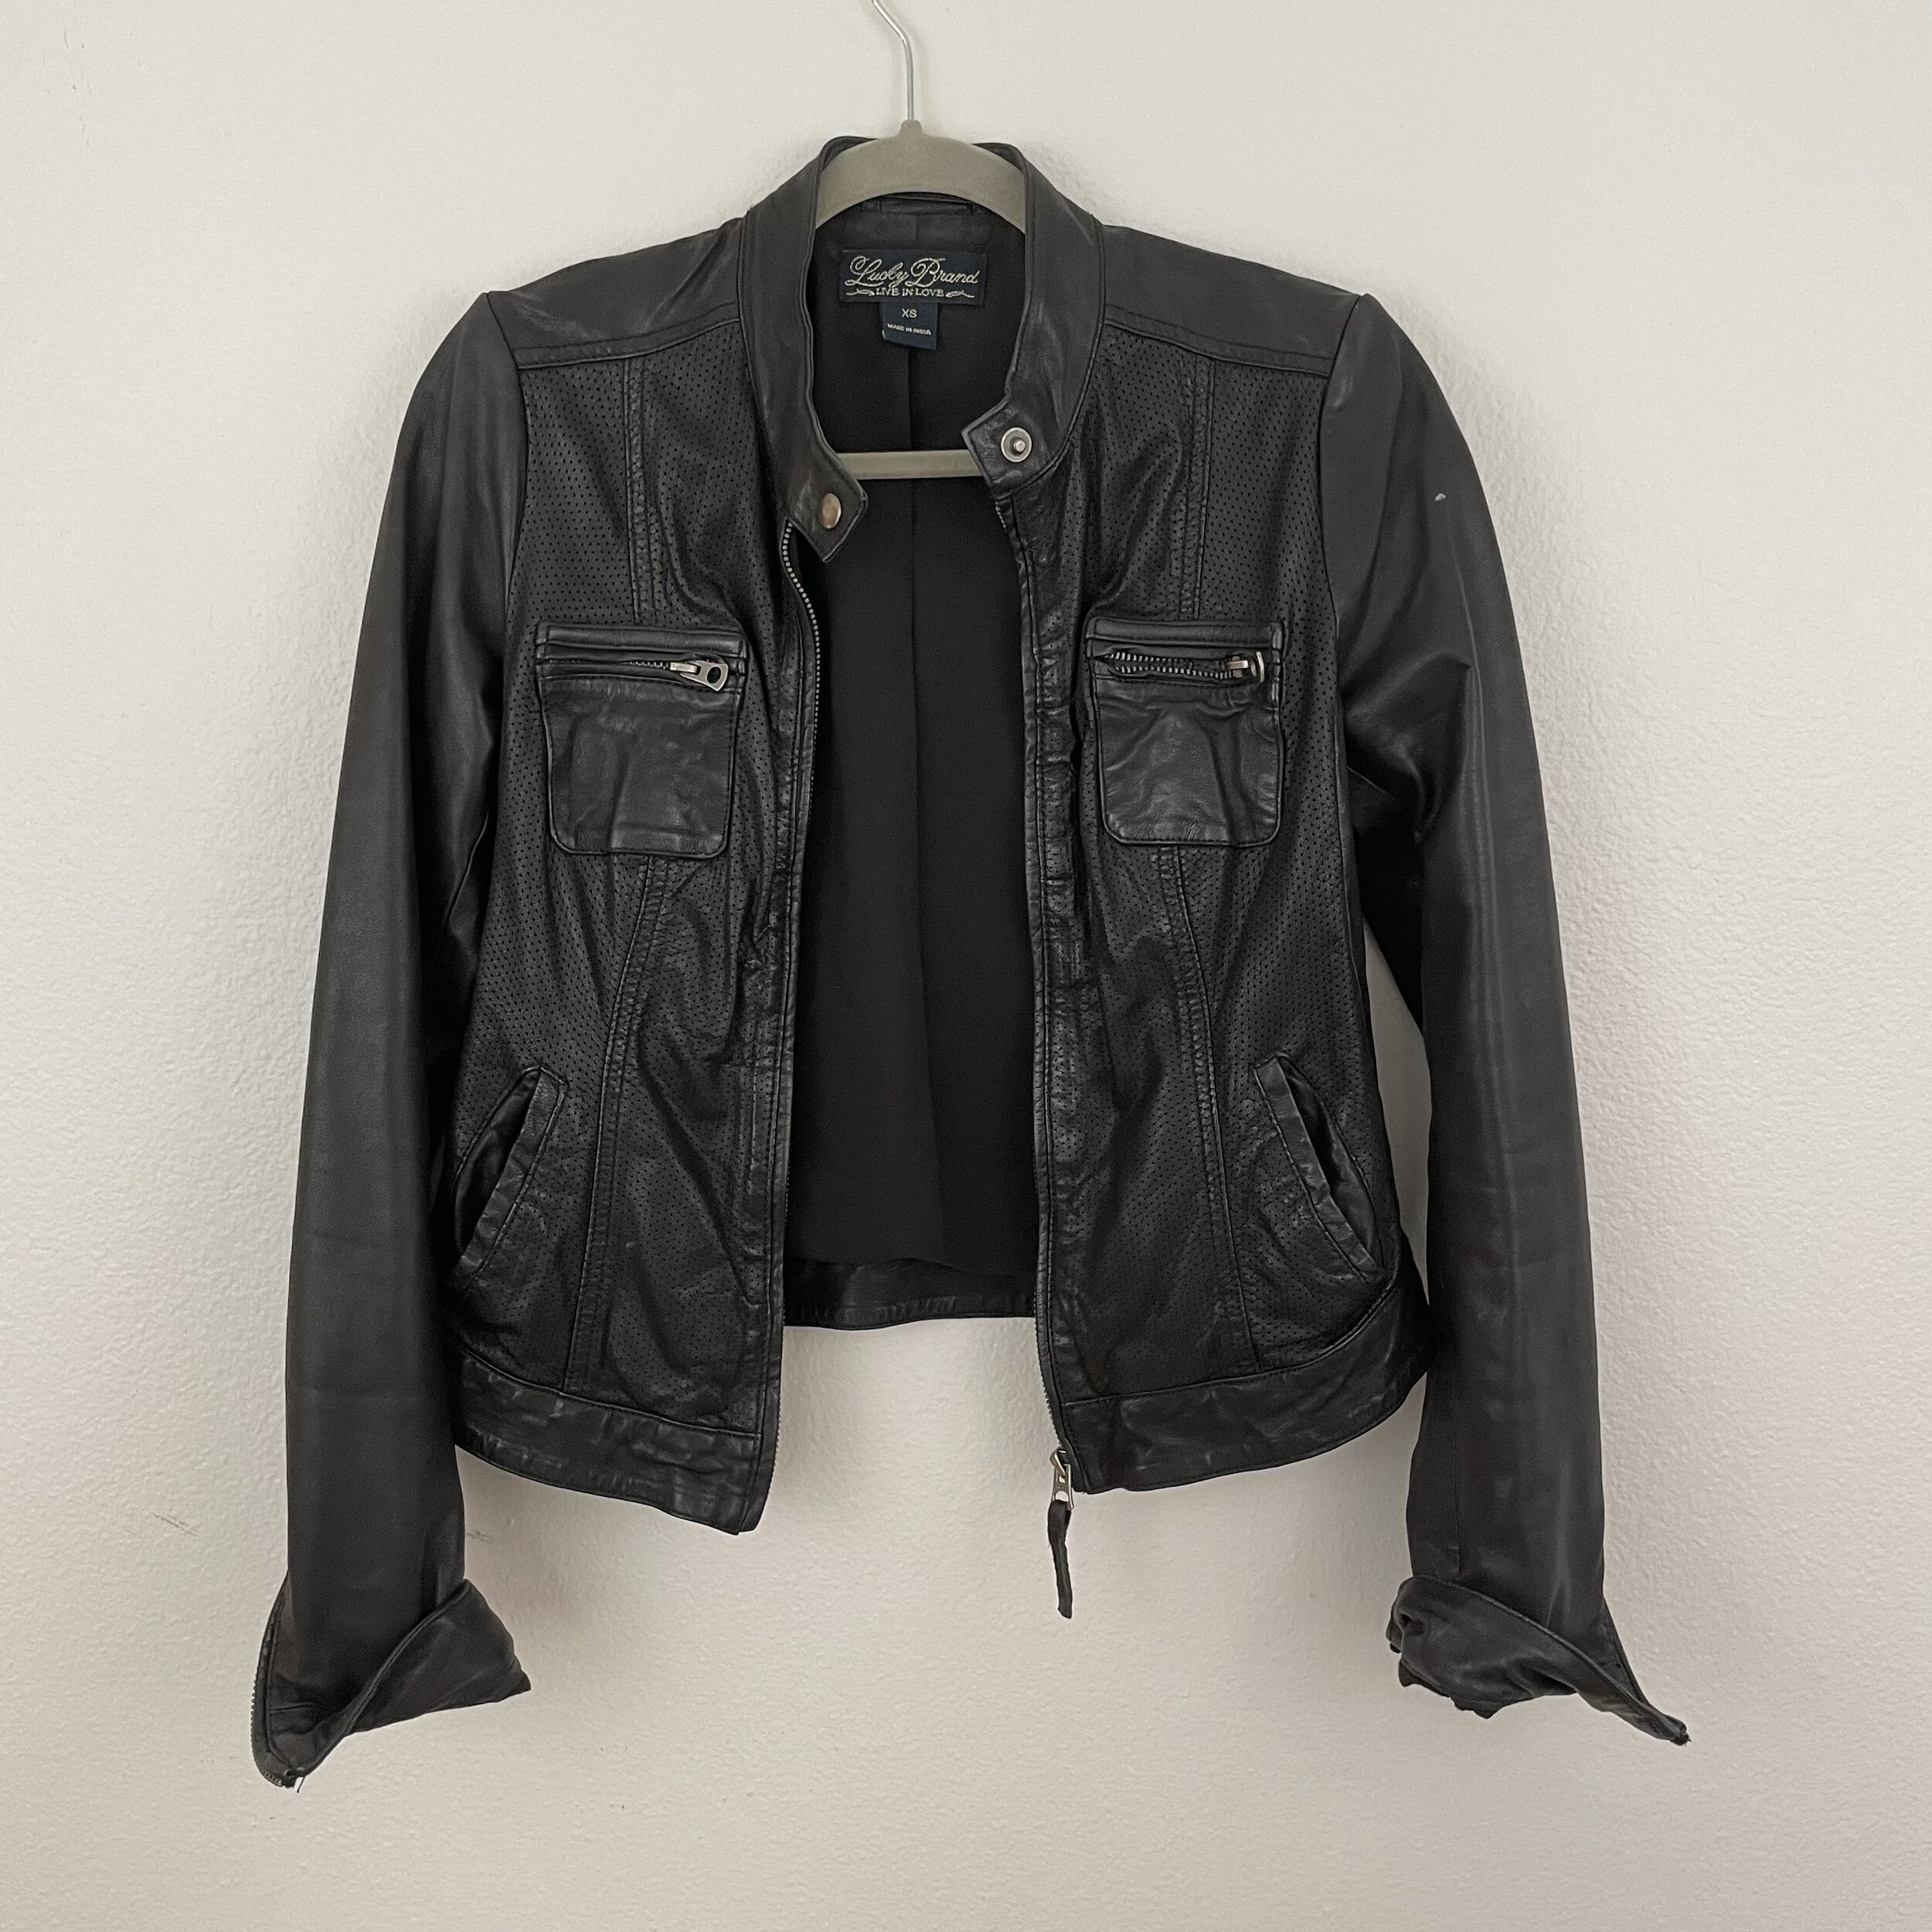
Step 2: Adjust the Subject
First, let’s fix the overall color of the item. The color in this shot is warmer (more yellow) than in real life. Open up the AutoMask tool, make sure subject is selected, and adjust the warmth until it looks more natural. In our example, we’ll drag the warmth slider a little to the left, to get rid of the yellow cast. We’ll also add a little brightness, and a pinch of contrast.
Don’t have PicTapGo+? Get it for free!

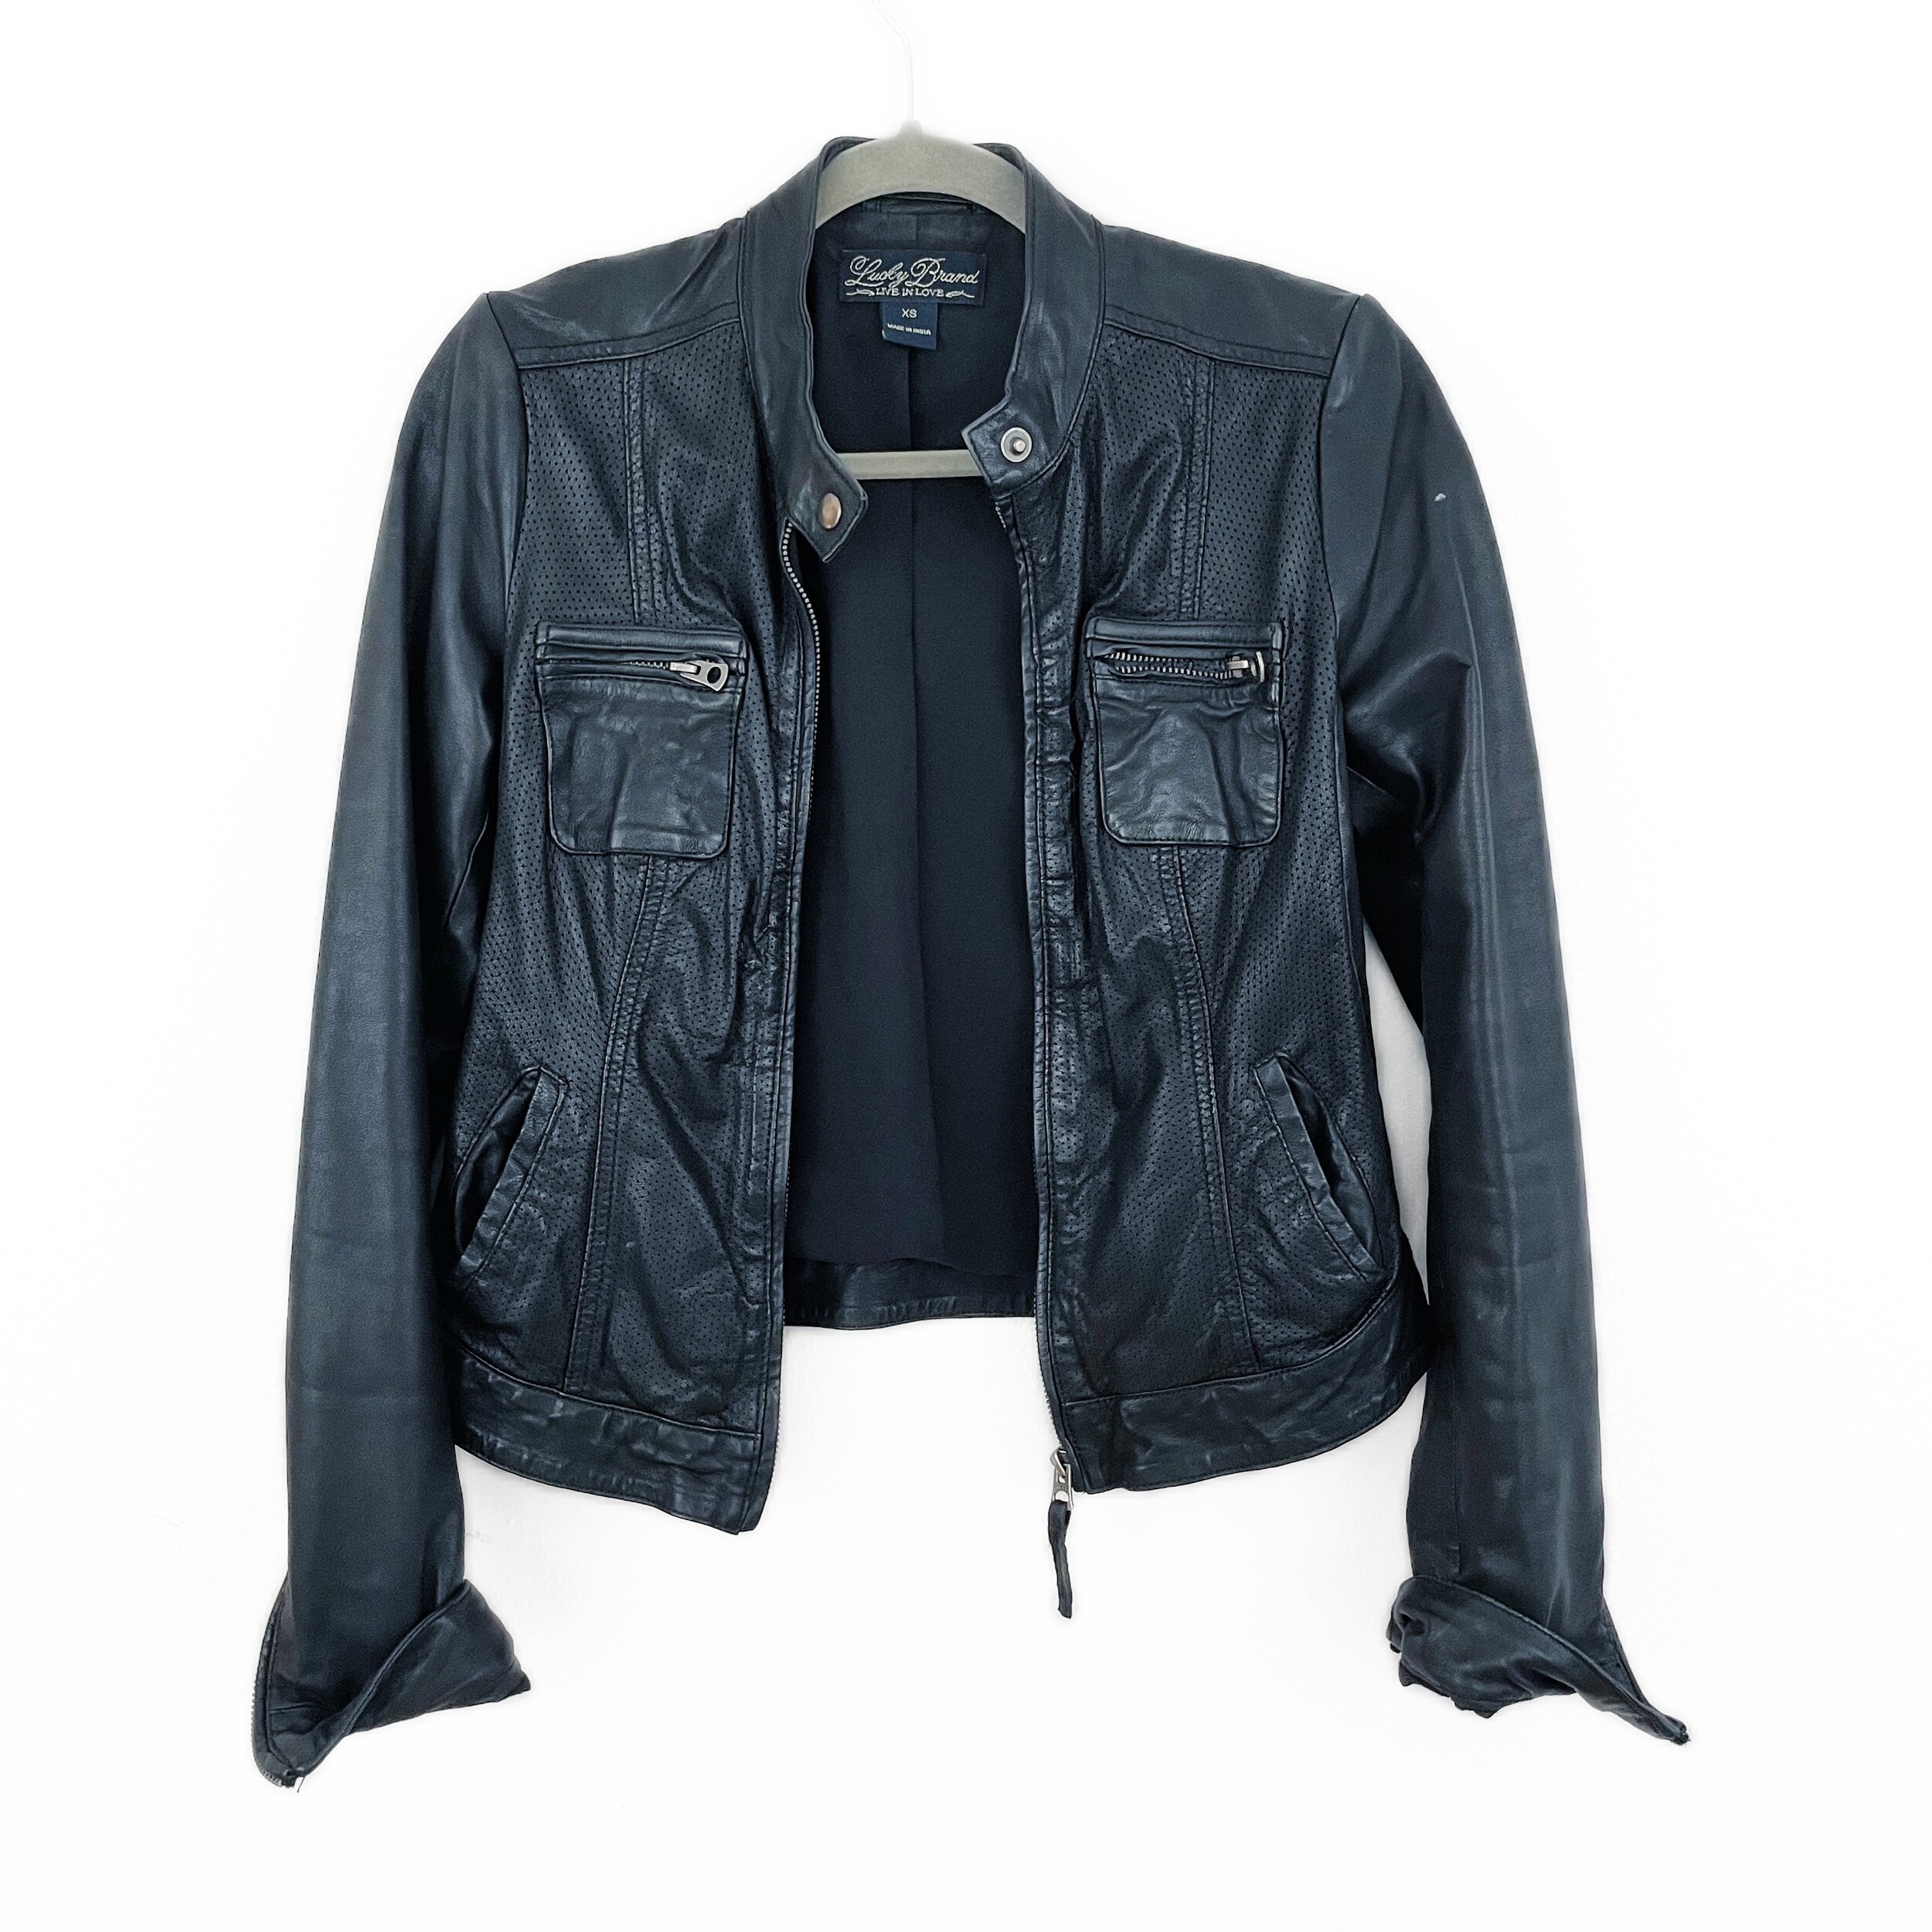
Step 3: Brighten Up the Background
Cameras LOVE to underexpose photos with light backgrounds, leading to a darker photo than you want. Normally, if we try to brighten the whole photo, we’ll end up making the item too bright before we get a nice white background, but with the AutoMask tool in PicTapGo+, we can adjust them separately!
With AutoMask still open, brighten the background until it’s a pure white. I also like to take the background’s saturation all the way down, just to make sure there’s no lingering color cast.

If the background still isn’t pure white, you can always use AutoMask a second time to get it there.
Sometimes, AutoMask won’t get the outline of the item quite right. In that case, you can use the touch tools to brighten up any lingering problem areas.
Step 4: Add Some Intensity (Optional)
The Intensity tool in PicTapGo+ can bring out some extra detail and texture, especially in darker items. You only want to add a little bit, as the effect can quickly become unnatural, but just a kiss of intensity can help make photos look lifelike and detailed.